Why Your Paver Patio Keeps Cracking and Sinking
Paver patio cracking or sinking again? We explain common installation mistakes, why re-sanding alone fails, and how to fix problem areas near slopes and landscaping.
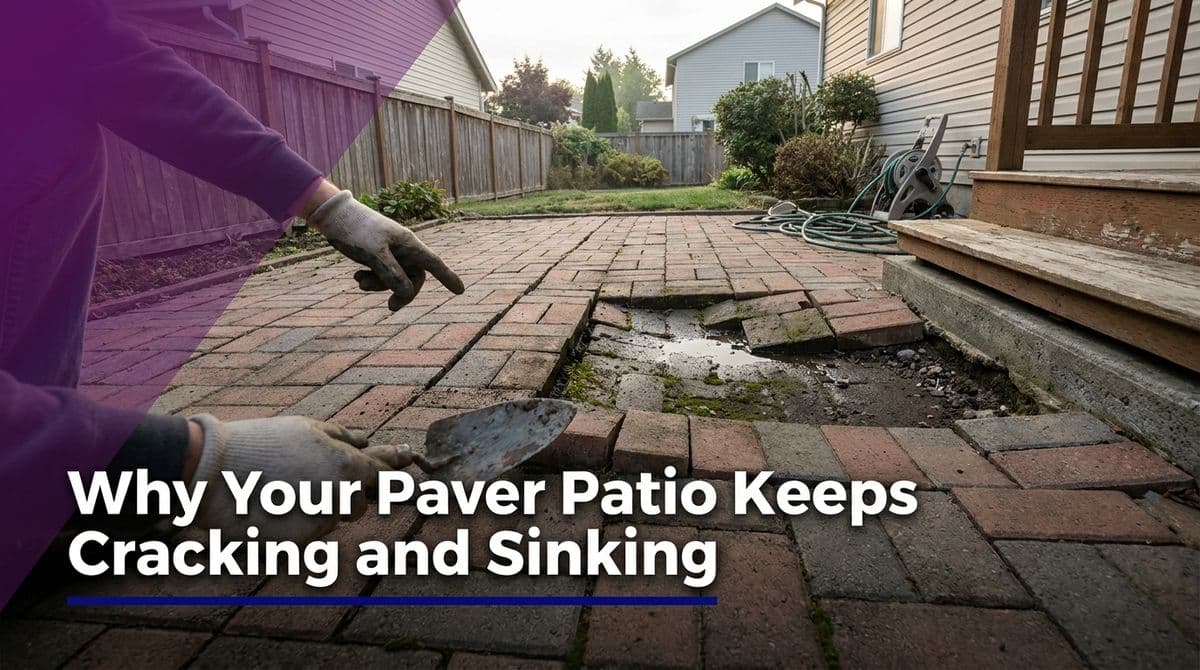
Why That “Small” Paver Problem Keeps Coming Back
We recently got a call from a homeowner — let’s call him Mark — who had a story we hear a lot. A few years ago, he had a paver patio installed. The installer seemed like a decent guy, but communication got spotty. After the first year, the joints started cracking, the sand washed out, and a few pavers began to shift and sink.
Mark eventually got the original contractor back out to “re-sand” and touch things up. It looked better for a while, but the same issues started showing up again: cracking lines in the joints, loose pavers along the edge, and problem spots near a steep slope and some landscaping beds.
When we hear a story like that, we already have a pretty good idea of what’s going on underneath the surface. Let’s walk through the most common reasons paver patios crack and sink, what goes wrong with re-sanding, and how we approach tricky slope and landscaping areas so they stay solid.
Common Installation Mistakes That Lead to Cracking and Sinking
Most long-term problems start below the pavers, not on top. If your patio keeps moving or failing in the same areas, there’s usually an issue with one (or more) of these layers.
1. Inadequate Base Depth or Compaction
The base is the “foundation” of your patio. In our climate, we typically want:
4–6" of compacted base (often class 5 or a similar aggregate)
Installed in thick lifts (8" at a time) and compacted with a plate compactor
When the base is too shallow, or it’s dumped in all at once and only lightly compacted, you might not see issues right away. But after a couple of freeze–thaw cycles and some heavy rains, the base settles unevenly. The result: low spots, wobbly pavers, and joint cracking, usually in the same areas over and over.
2. Poor Edge Restraints
We often find problems concentrated along the outer edges of the patio. If the edge restraint (plastic edging, concrete curb, or soldier course of pavers) isn’t properly installed and anchored, the pavers can gradually spread outward.
Once the edge moves even a little, the pavers lose their tight interlock, joints open up, sand washes out faster, and you start seeing that “crumbly” look where the patio meets the lawn or landscape rock.
3. Incorrect Slope and Water Management
Mark mentioned a significant slope dropping away from one side of his patio toward a fence and some hydrangeas. Those transitions from a flat patio to a steep grade are classic trouble spots.
If the patio isn’t sloped correctly (typically around 1/8–1/4" per foot away from the house) or the base isn’t properly retained at the downhill side, water will:
Run under the edge of the patio instead of away from it
Wash out base material near the slope
Soften soil along planting beds
Over time, that creates voids under the pavers and you see localized sinking and cracking right where the patio meets the landscaping or drop-off.
Why Simple Re-Sanding Doesn’t Fix the Root Problem
Like Mark’s original contractor, many installers will come back and “re-sand” joints when problems pop up. Sometimes they even use polymeric sand and call it “re-grouting.” That can temporarily improve appearance, but it doesn’t solve deeper issues.
When Re-Sanding Helps — and When It Doesn’t
Re-sanding can help if:
The base is solid and level
Pavers are still tight and not rocking
You’re mainly dealing with surface erosion of joint sand
In those cases, we’ll clean the surface thoroughly, refill joints with the right sand, and compact the pavers so the sand settles properly. That can extend the life of a sound patio.
Re-sanding will not help if:
Pavers rock when you step on them
You have visible low spots or settled areas
Edges are creeping out or separating
Then you’re trying to “caulk” a moving structure. The sand will keep cracking or washing out because the base or edge condition hasn’t been corrected.
Fixing Problem Areas Around Slopes and Landscaping
On Mark’s project, the right side of the patio tied into a nicely landscaped area with a lilac tree, rock, and plants. The left side dropped down sharply toward a fence and some hydrangeas. His wife wanted a cleaner, more symmetrical look — and we wanted a structure that wouldn’t keep moving.
Our Typical Approach in These Situations
Every yard is different, but when we’re called to fix or improve a patio near slopes and planting beds, we often:
Assess the grade with a level or laser to see where water is actually flowing.
Open up the worst areas by lifting pavers in the sunken or cracked zones.
Remove and rebuild the base where it’s insufficient, using proper depth and compaction.
Add edge support — such as hidden paver edge, small retaining step, or raised rock border — at the downhill side.
Blend in landscaping (rock, low walls, or new plant beds) to soften the grade change and support the patio edge.
The goal is to both stabilize the structure and clean up the look so it feels intentional, not like the patio is falling off a cliff.
Simple Things Homeowners Can Watch For
If you’re not ready for a full rebuild, you can still keep an eye on early warning signs:
Joints that keep cracking in the same line or pattern
Edges that look like they’re “leaning” or pushing out
Water puddling where the patio meets the lawn or beds
Pavers that start to feel hollow or spongy underfoot
Catching issues early sometimes allows us to address just the failing sections instead of redoing the entire patio.
When to Call a Pro to Evaluate Your Paver Patio
We always encourage homeowners to take and send clear photos from multiple angles — including any nearby slopes, trees, or planting beds. That’s exactly what we asked Mark to do before we came out. With a few good pictures, we can usually tell whether you’re dealing with:
A simple joint maintenance issue
A localized base problem that can be spot-repaired
Or a more serious structural issue that needs partial rebuilding
If your paver patio keeps cracking, sinking, or separating — especially near slopes and landscaping — it’s almost never “just the sand.” Our team is happy to take a look, give you honest options, and help you decide whether a targeted repair or a more thorough fix makes the most sense.